Your Cart is Empty
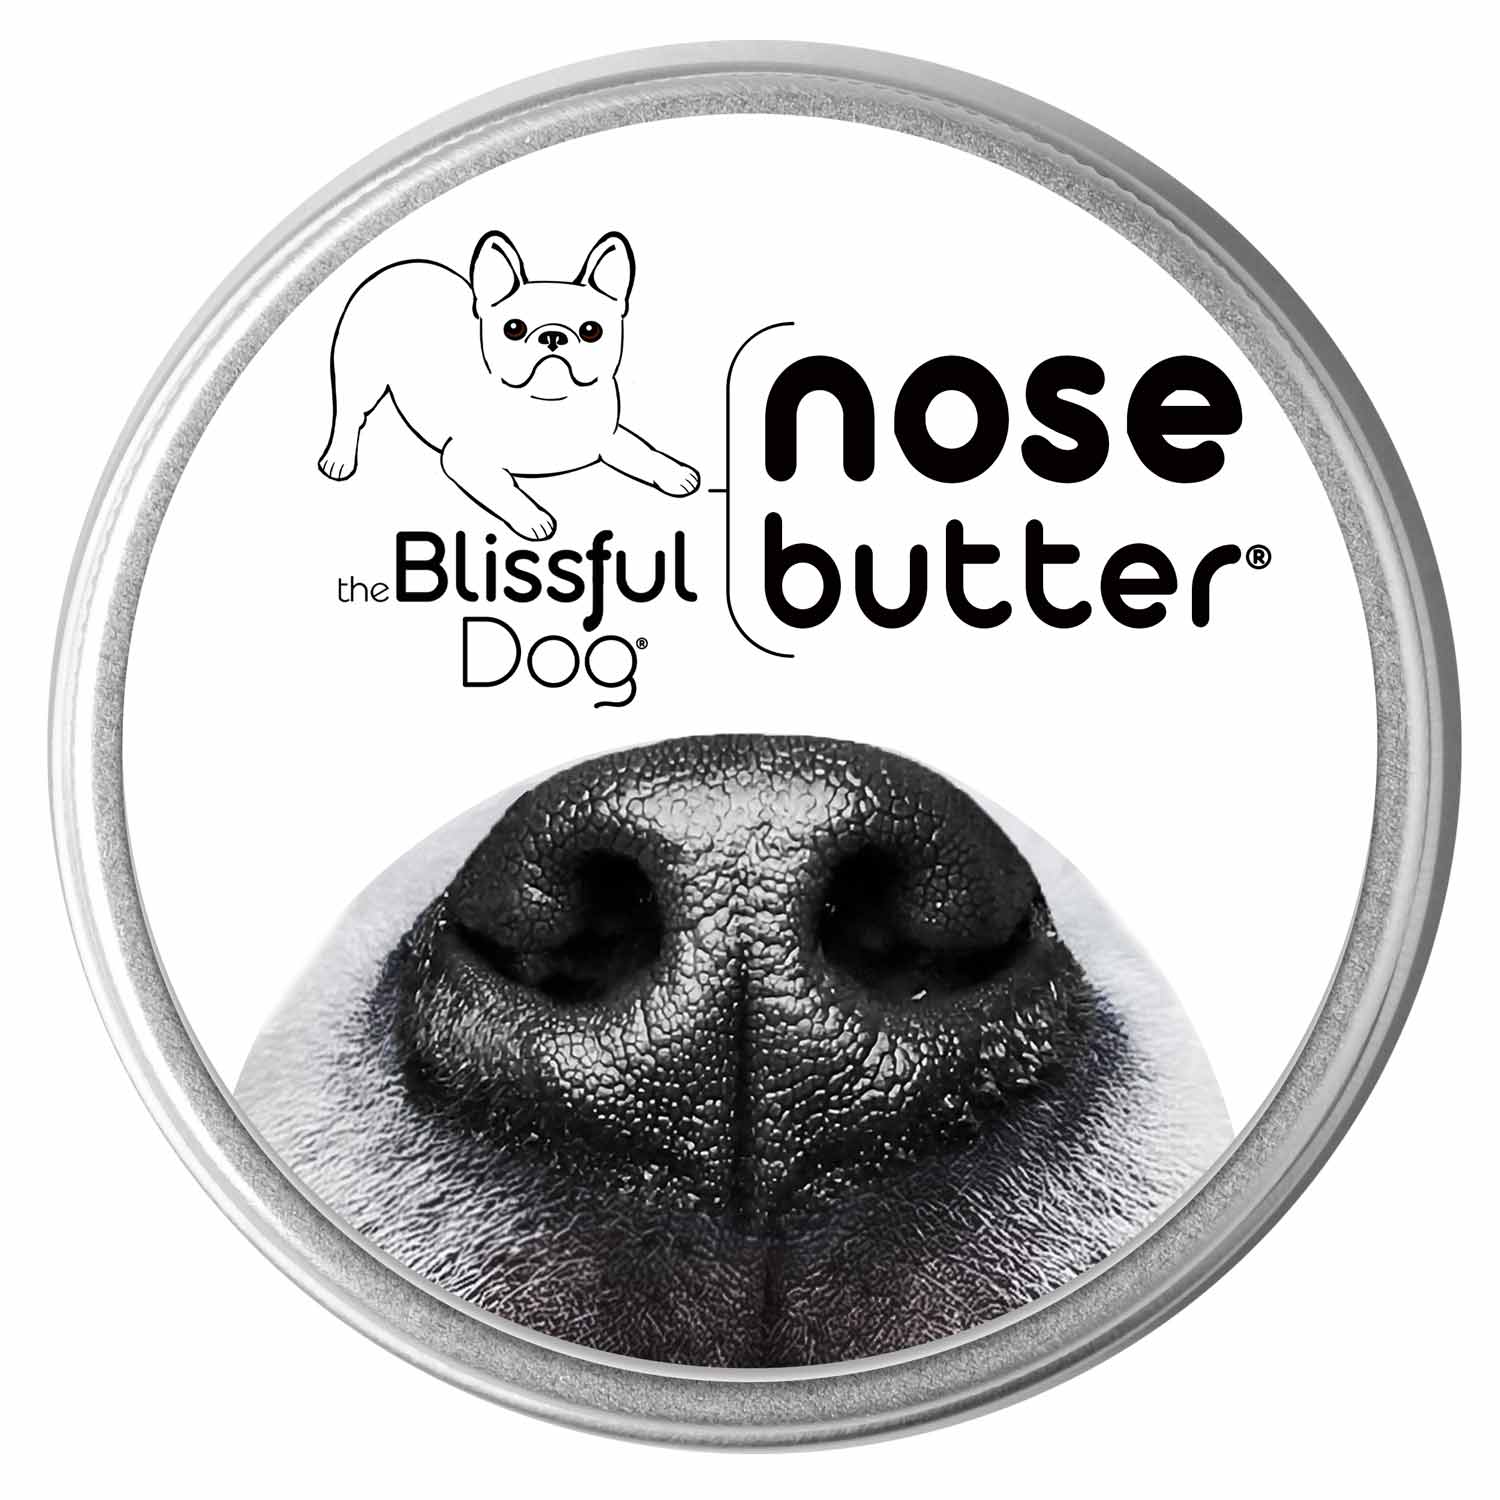
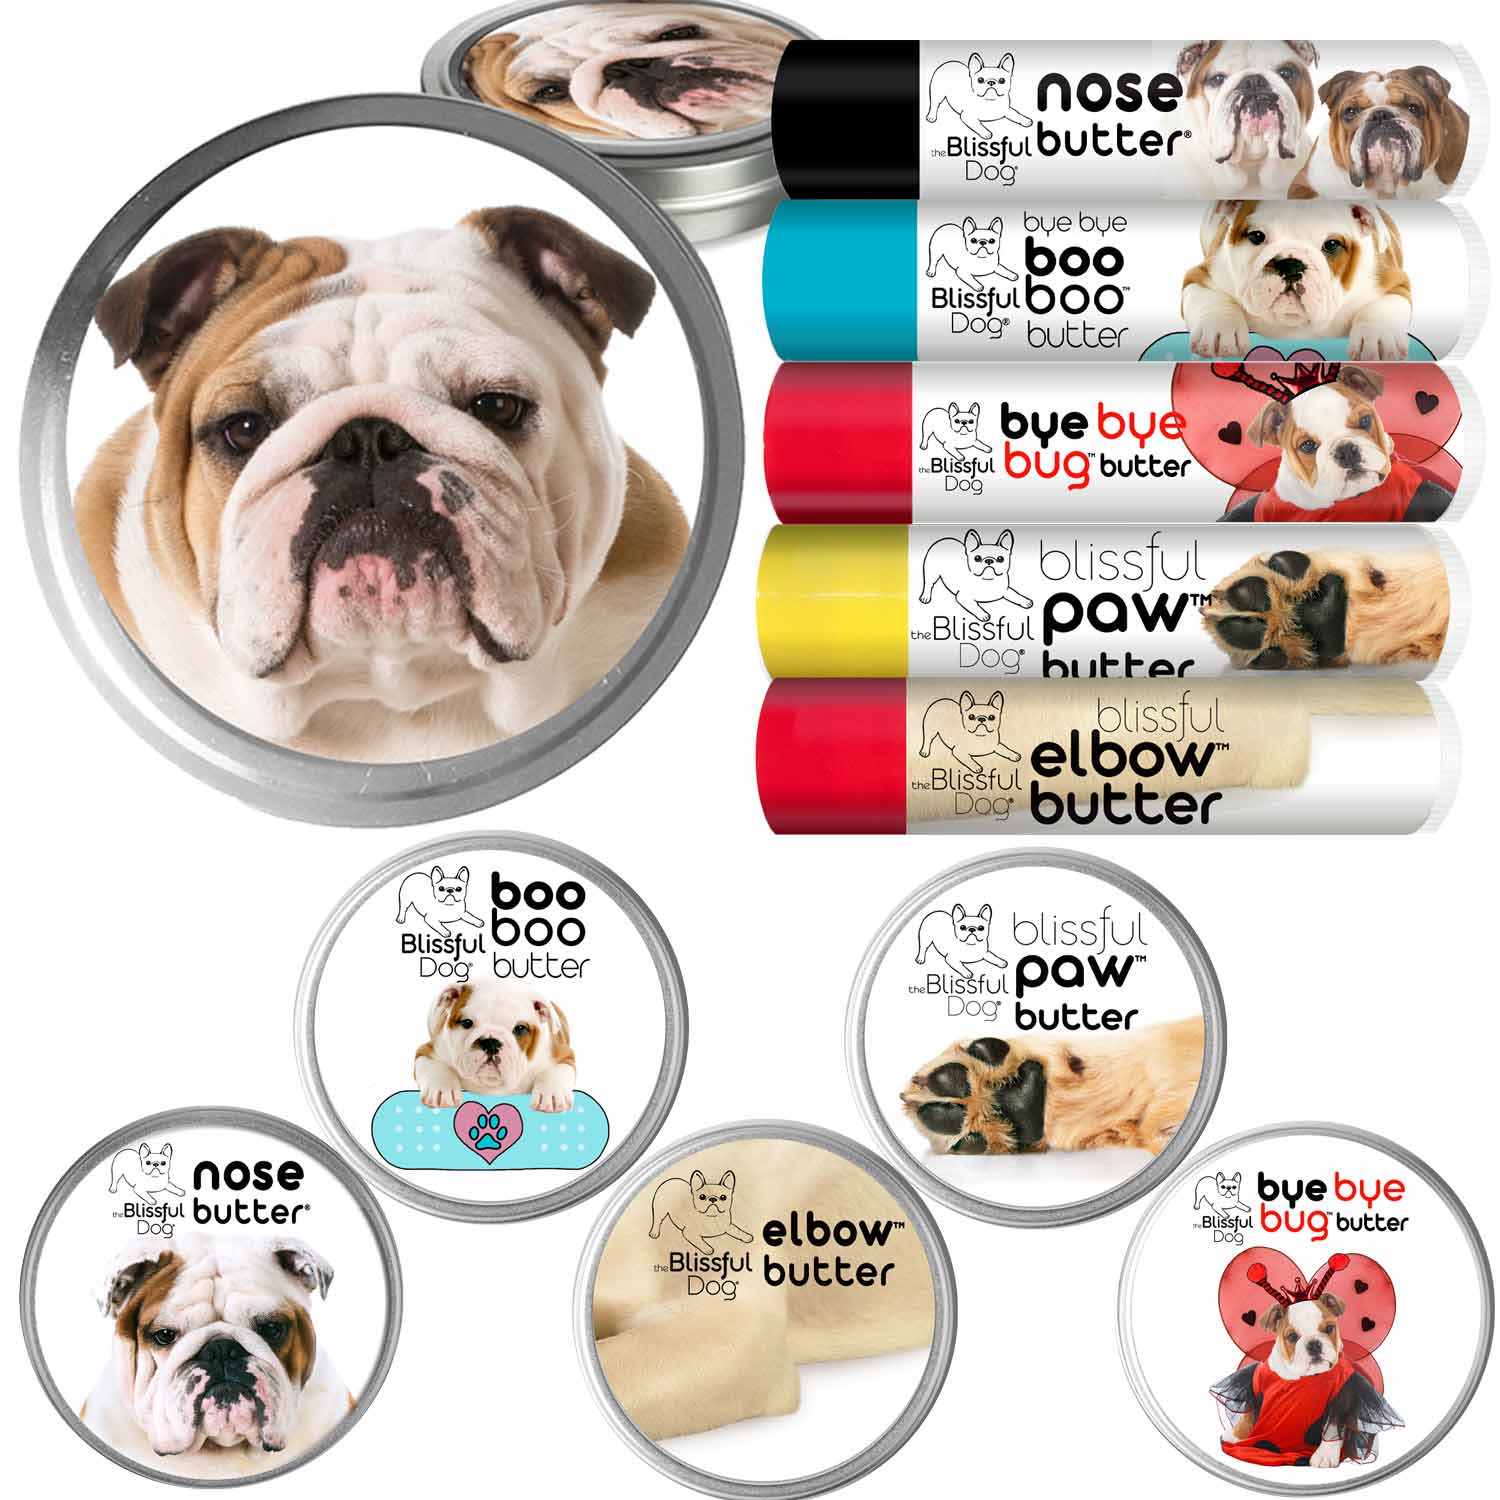
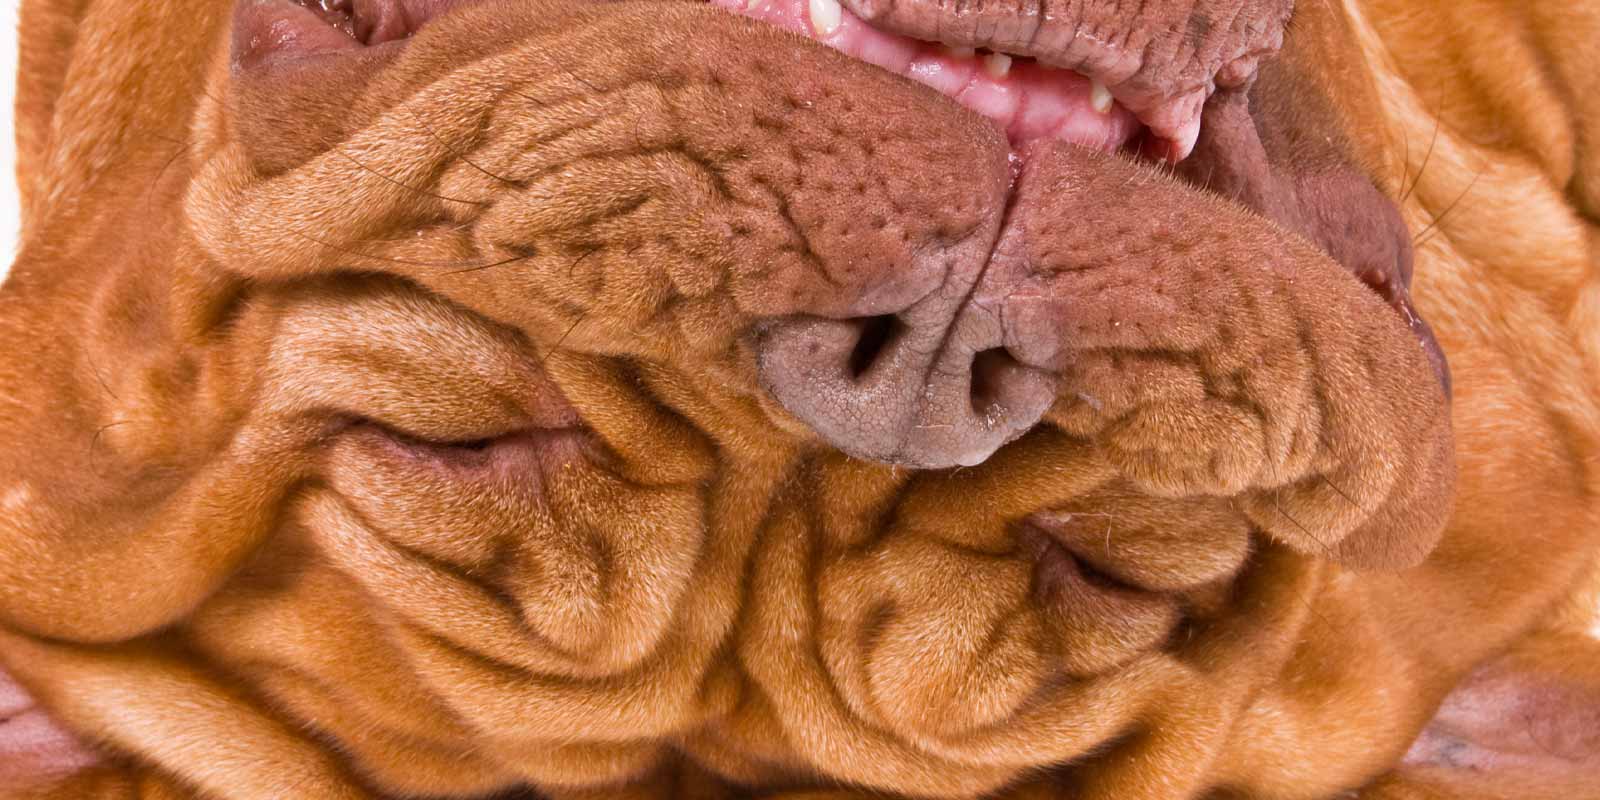
Does Your Dog Have
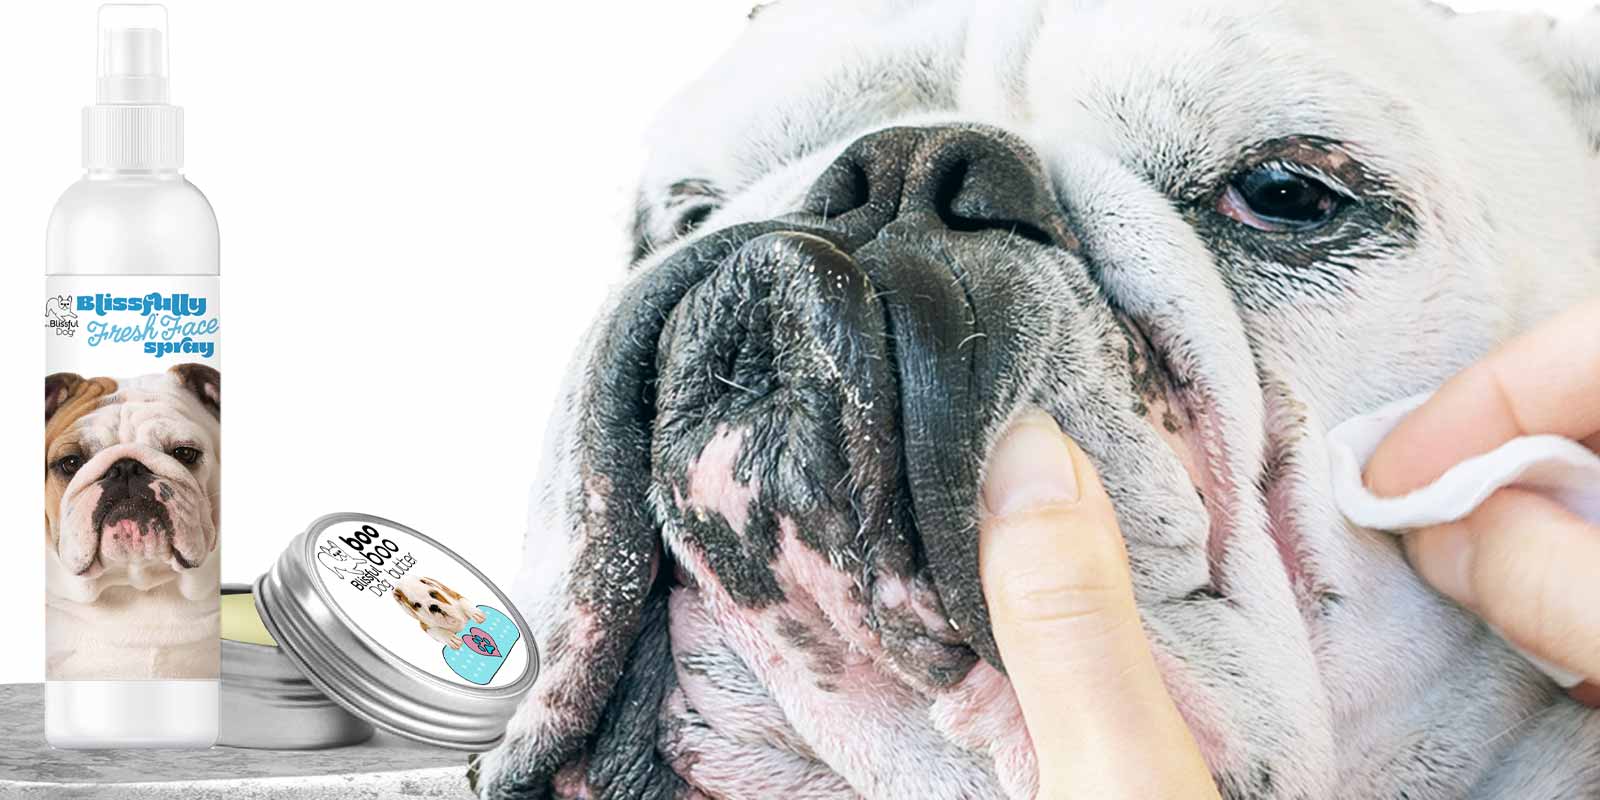
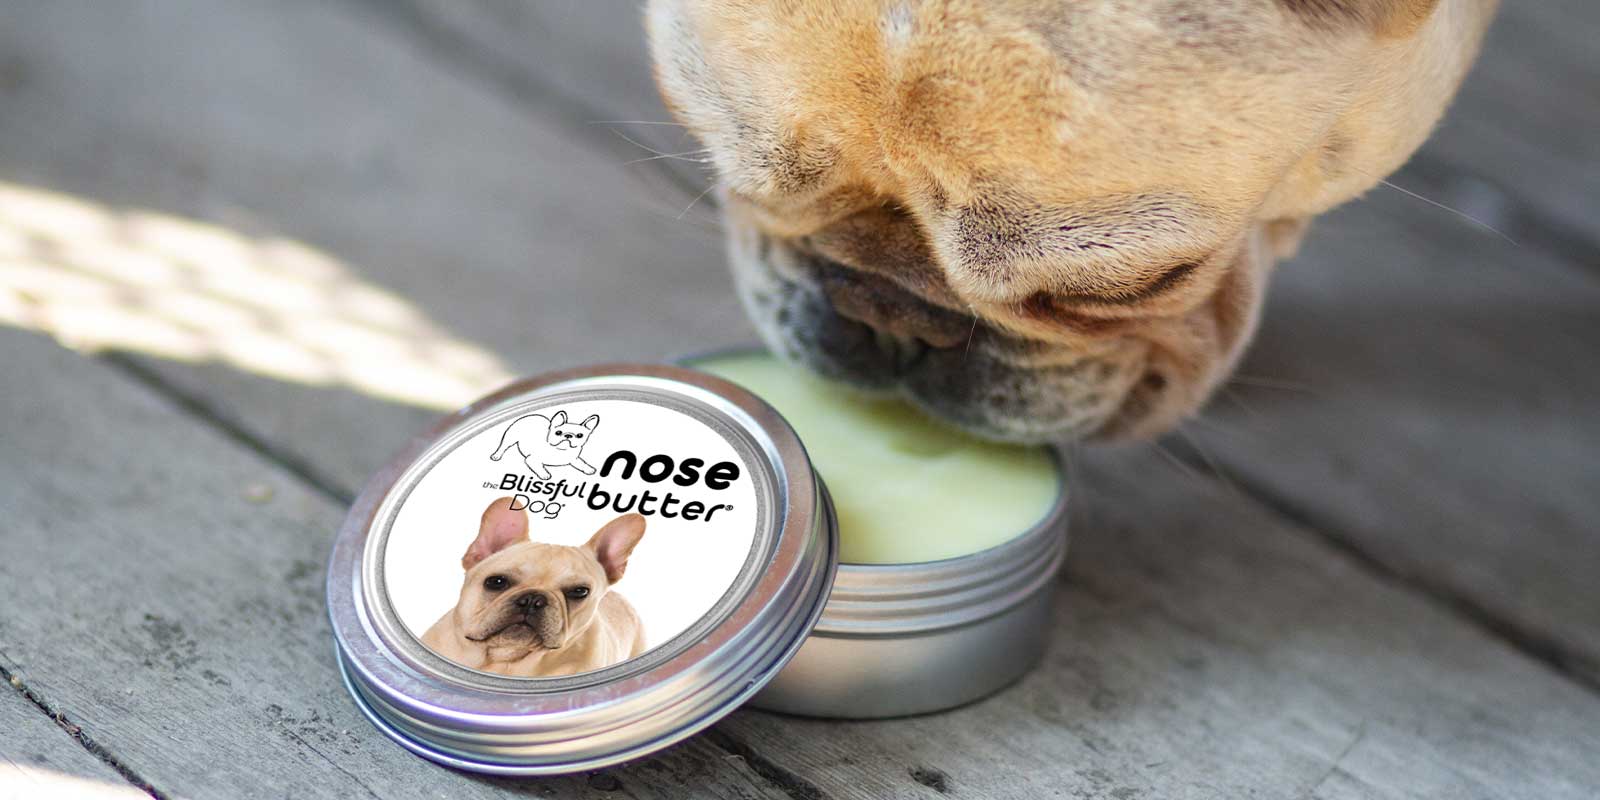
✔ A Dry, Crusty Nose?
✔ Is Top of Nose Dry?
✔ Nasal Hyperkeratosis?

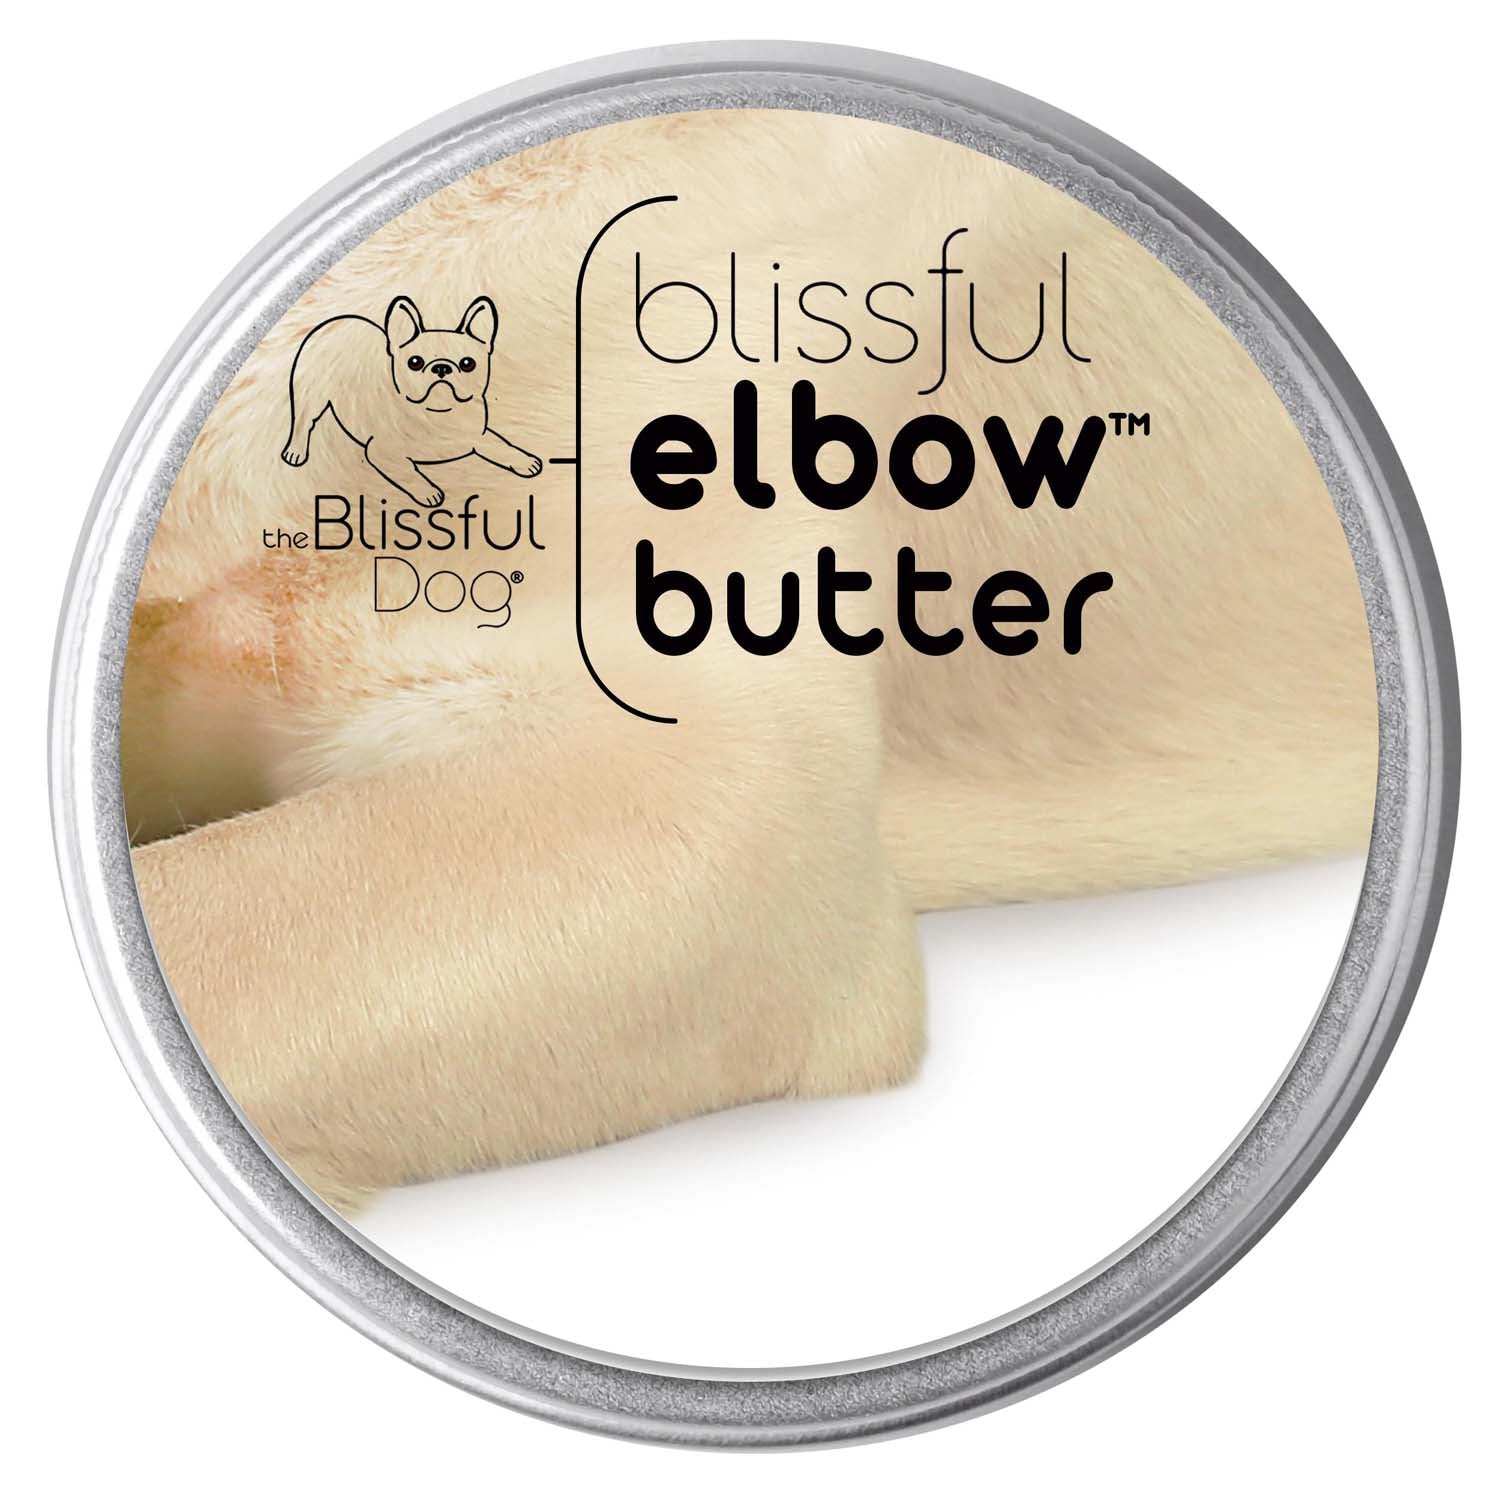
Does Your Dog Have
✔ Thick Elbow Calluses?
✔ Callused Hocks
✔ Pre-Callus Areas?

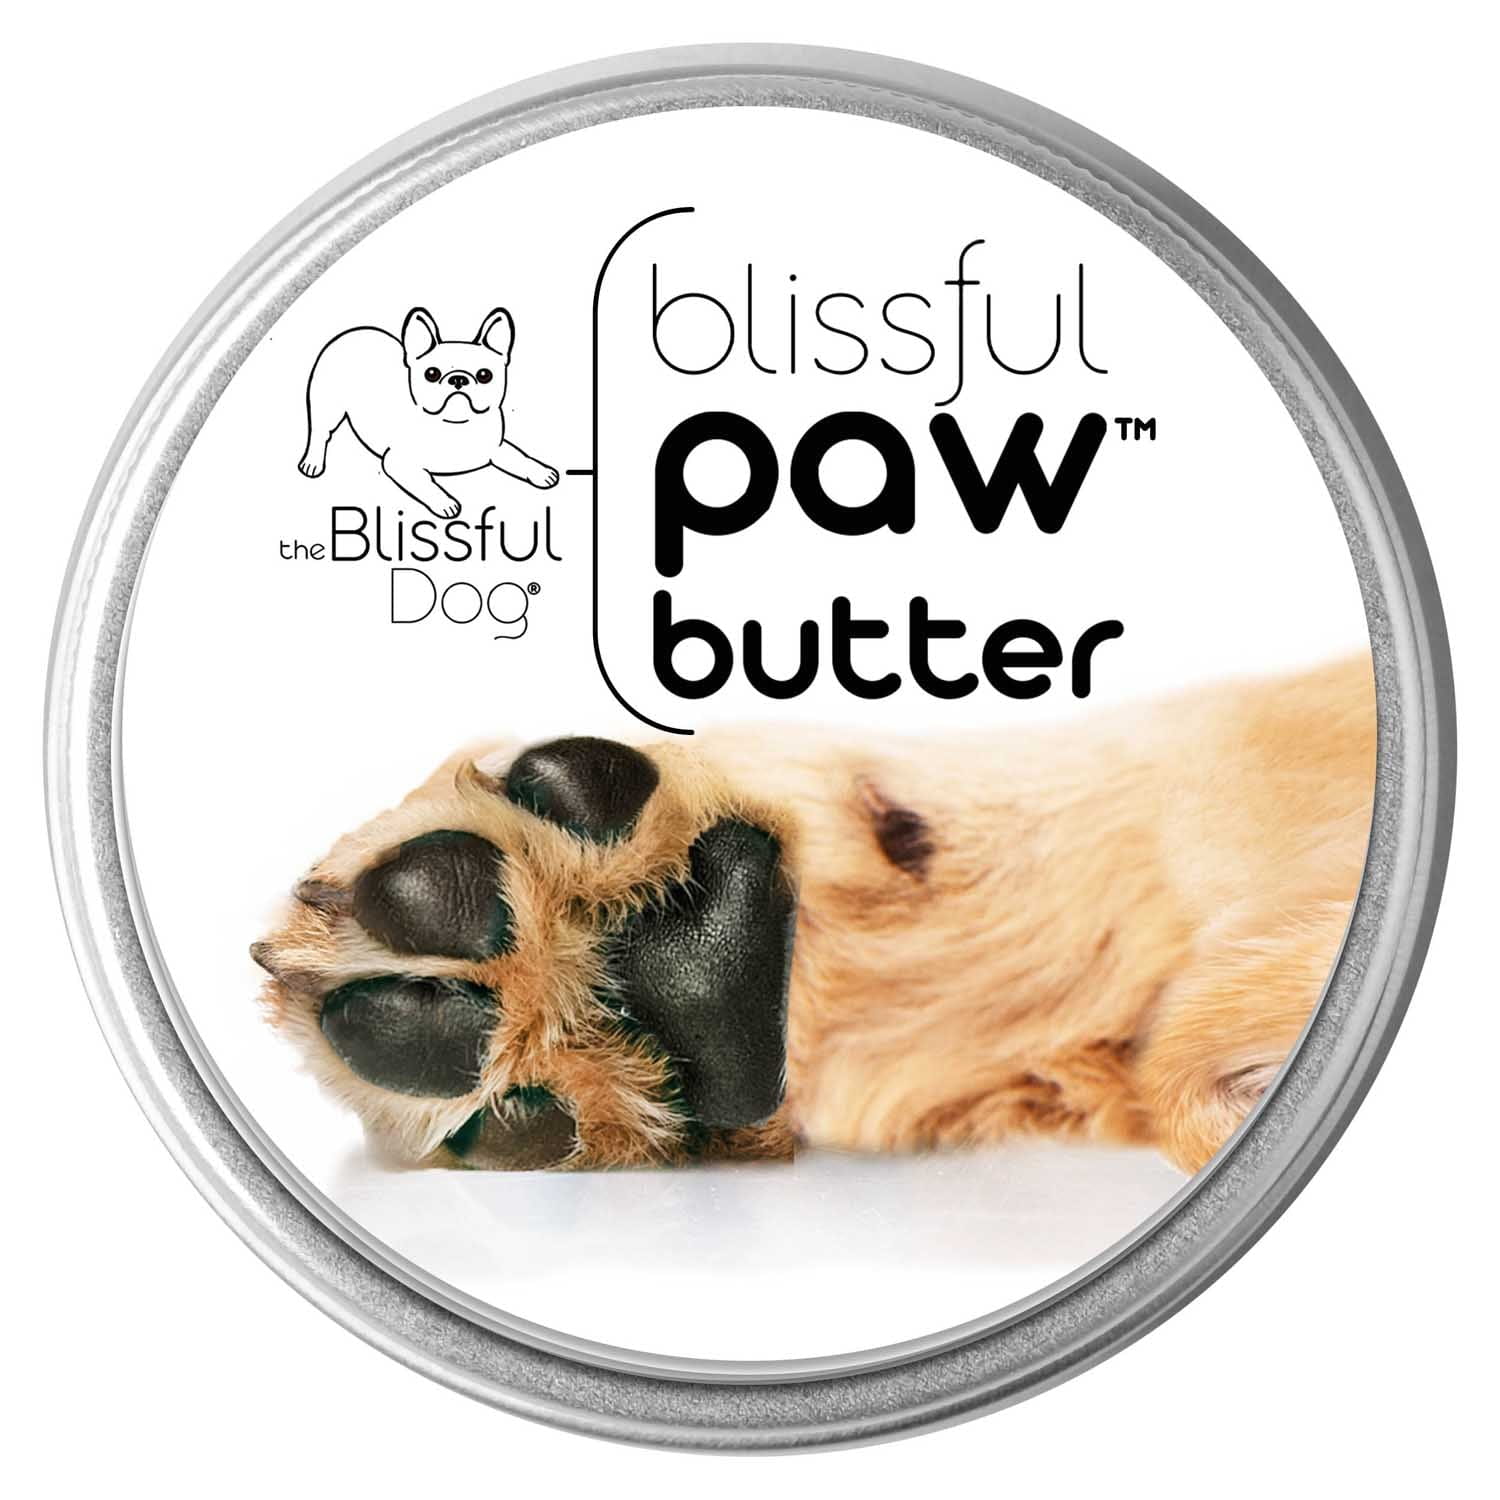
Does Your Dog Have
✔ Rough, Dry Paws?
✔ Sensitive Paw Pads?
✔ Extra Dry Paw Tissue?

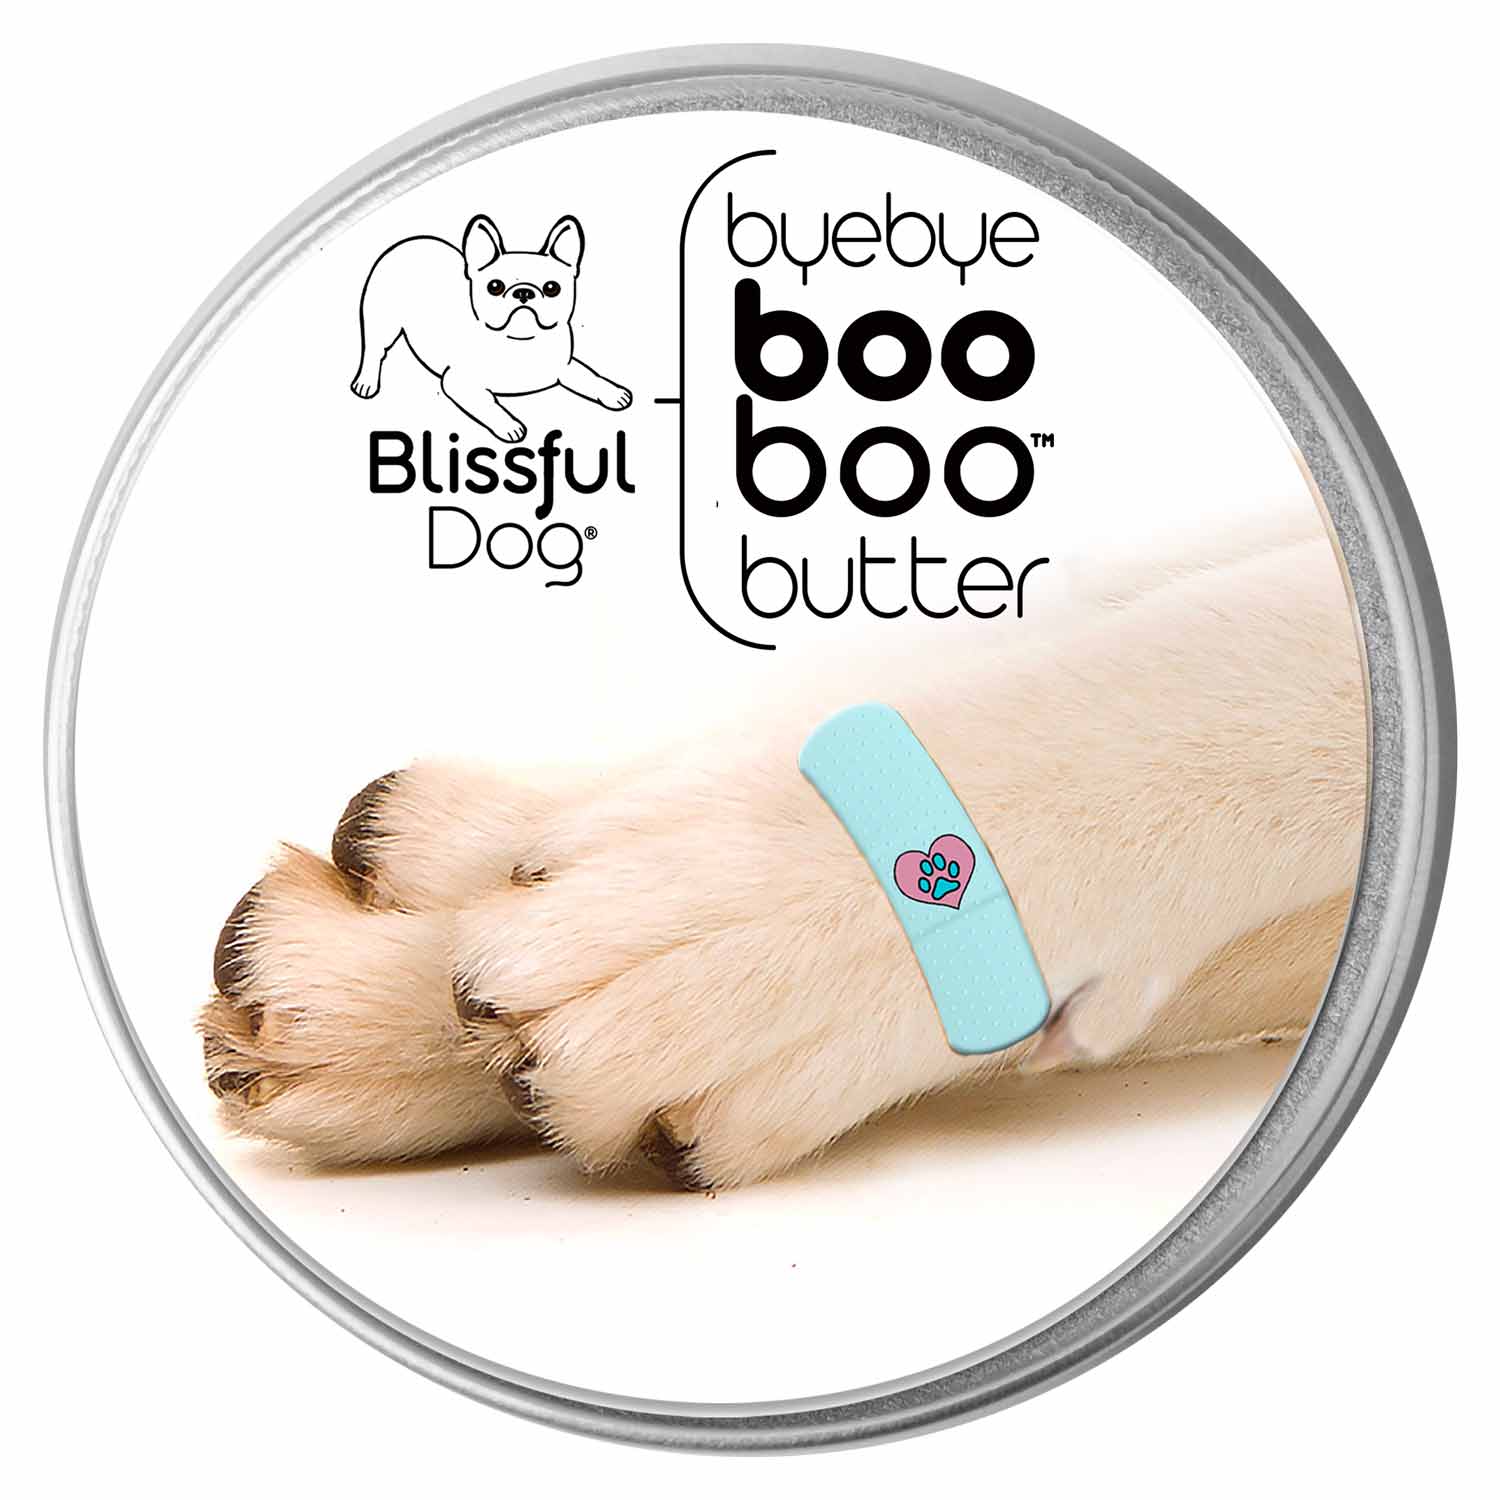
Does Your Dog Have
✔ Skin Irritations?
✔ Scratches & Scrapes?
✔ Rashes? Abrasions?

Try It All!
✔ Mix & Match
✔ Tins & Tubes
✔ Any Combo of Products

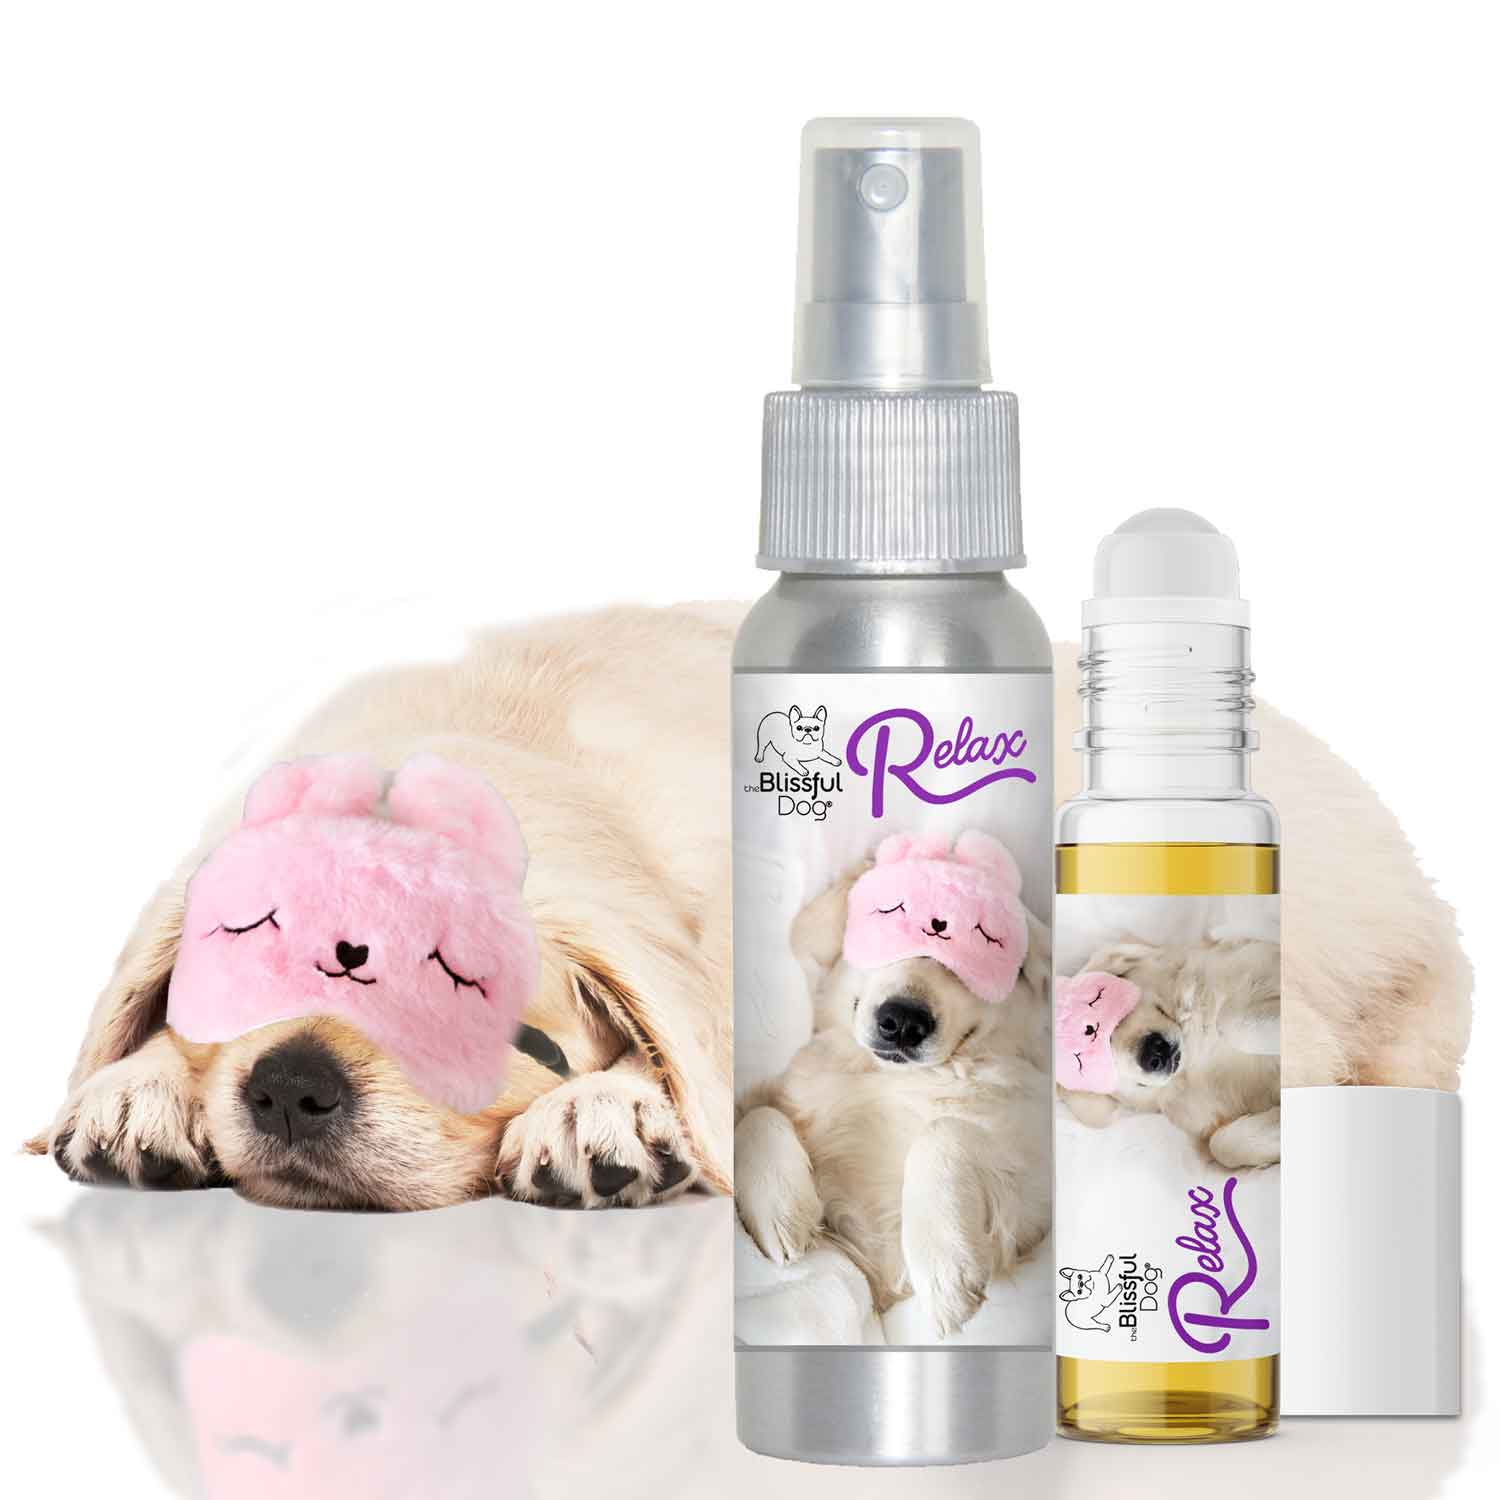
Relax Dog Aromatherapy Calms Your Anxious Dog
Relax Dog Aromatherapy gently soothes your scared, stressed dog using all-natural essential oils

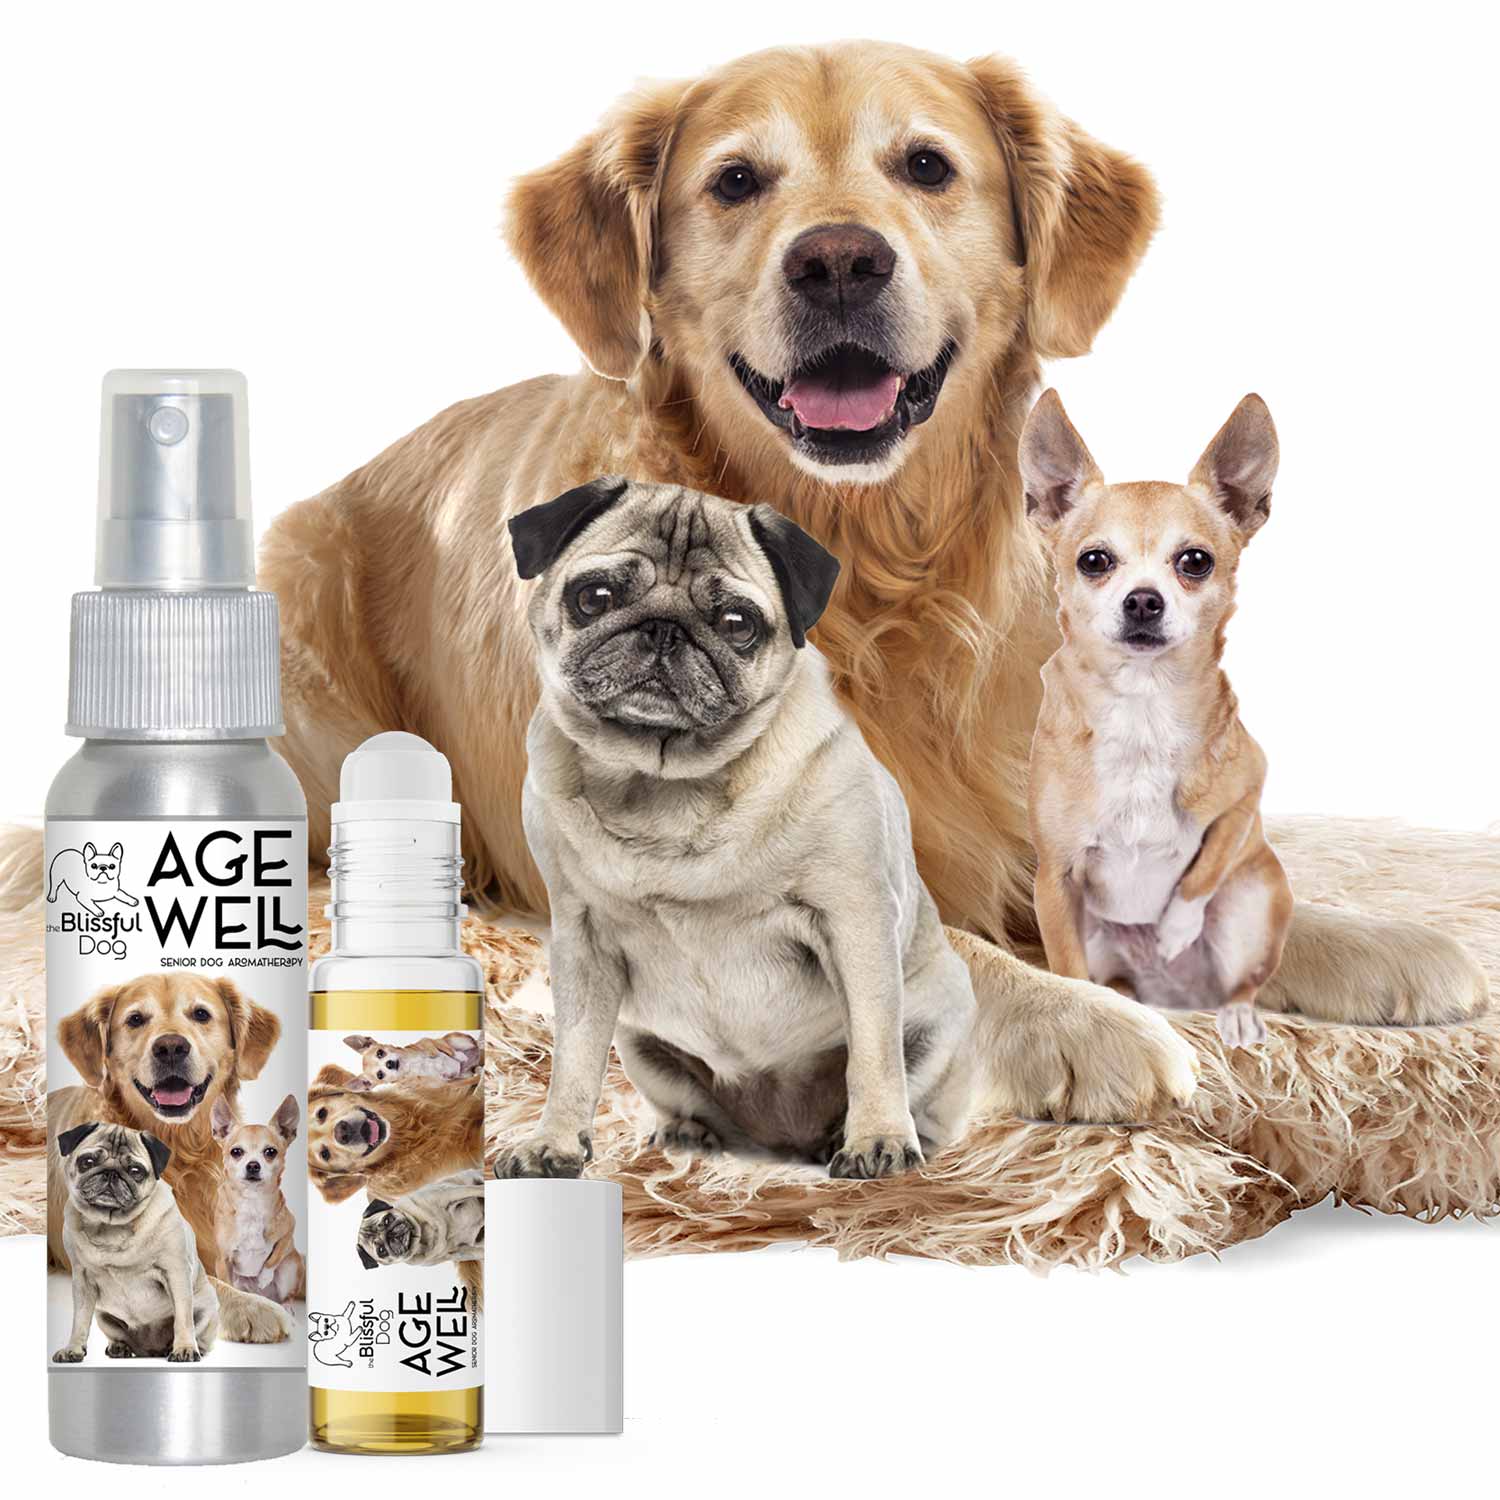
Age Well Aromatherapy For Your Dog's Aging
Age Well calms your senior dog's agitation and confusion, keeping them in the present moment.

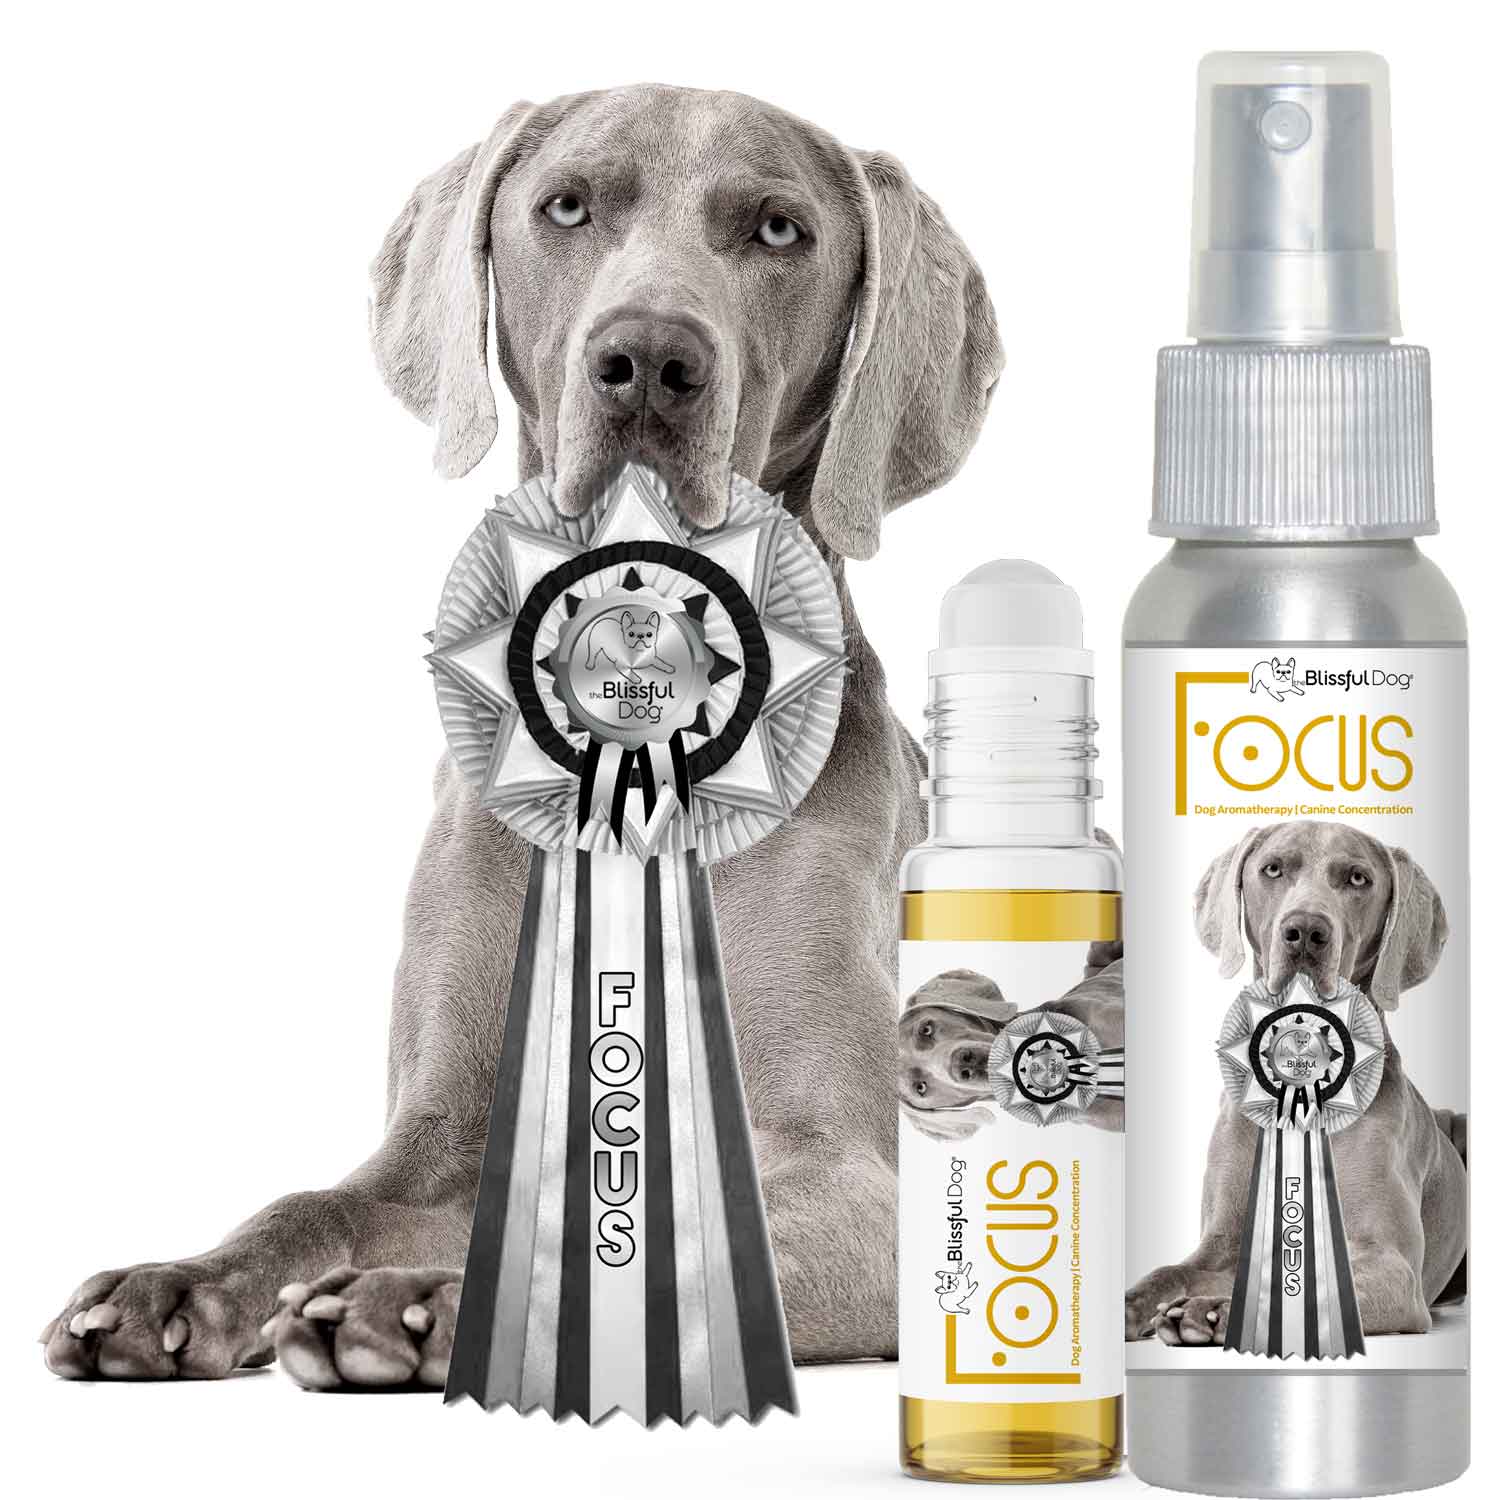
Focus Dog Aromatherapy Chaos to Concentration
Helps hyperactive, wound-tight, inattentive dogs pay attention for short periods (classes etc.)

Even Big Dogs Can Be Afraid of Thunder, Fireworks or Being Alone


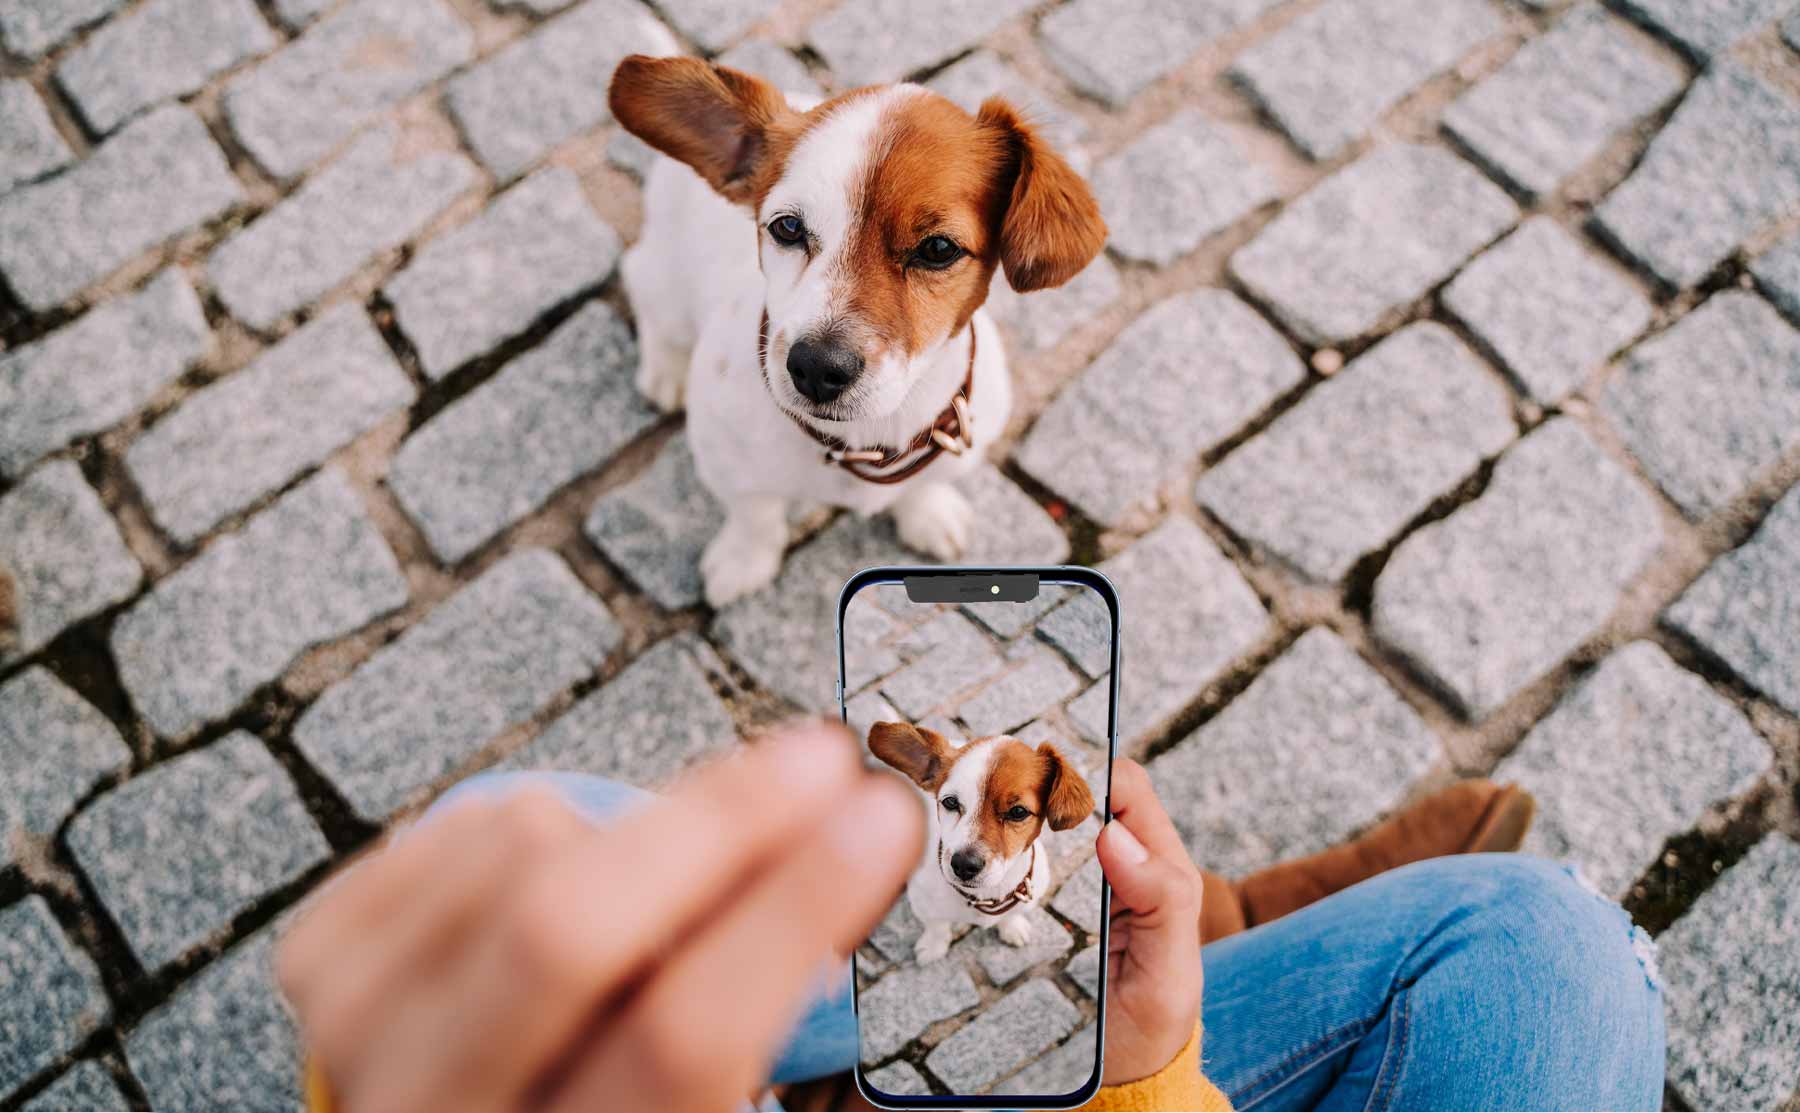
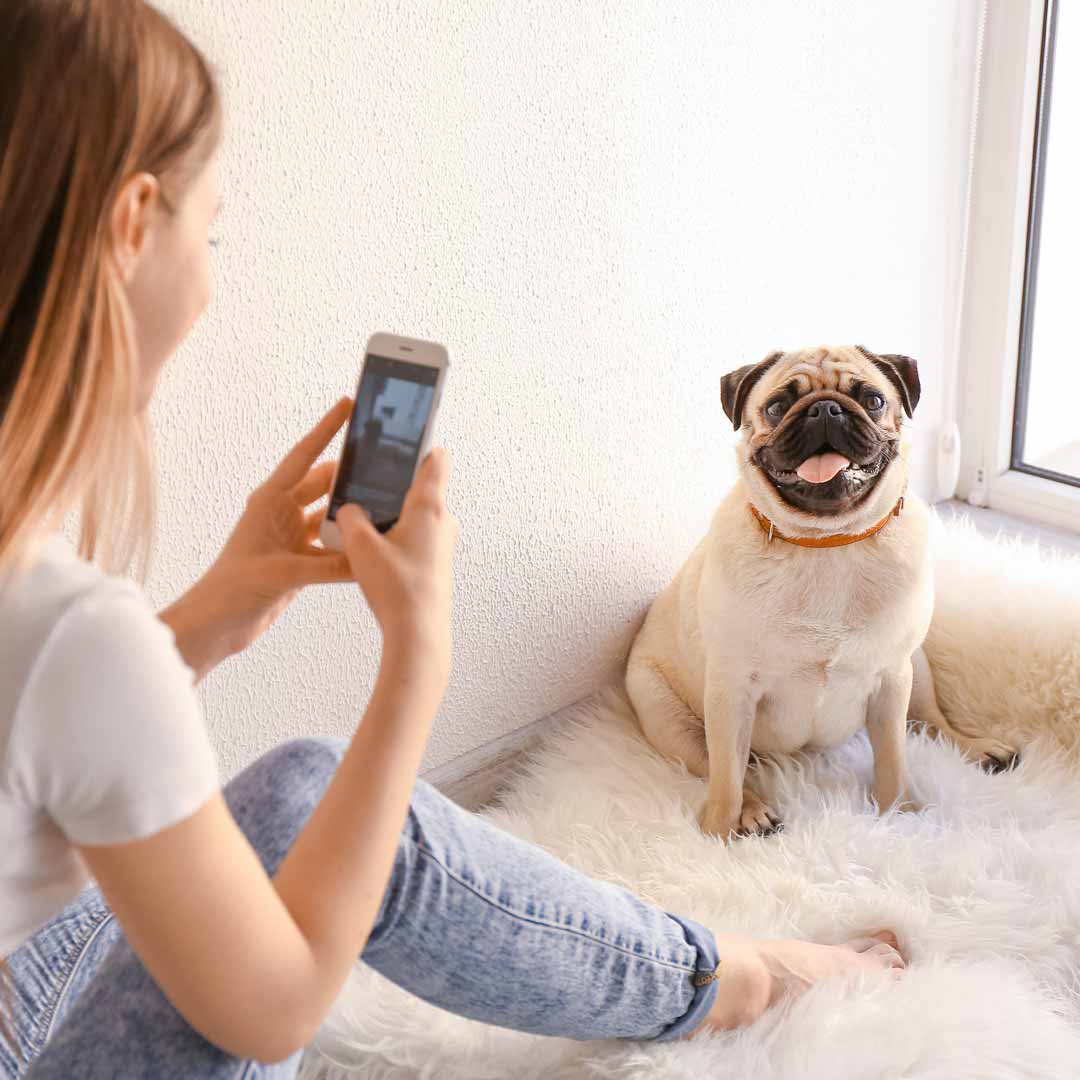
Tips For Taking That Perfect iPhone Photo of Your Blissful Dog
Some of us remember taking pictures, with a camera, and waiting a week or so to get them back from developing, only to throw them in the trash at the drug store. Being able to take almost pro level pictures with our phones is one of those things I will personally never cease to be grateful for. That and modern dentistry. Here is a quick collection of phone camera related tips. Some are iPhone related, but not all. You should be able to adapt any tips to your phone or even camera.
Photo Magic With the Camera in Your Pocket or Purse

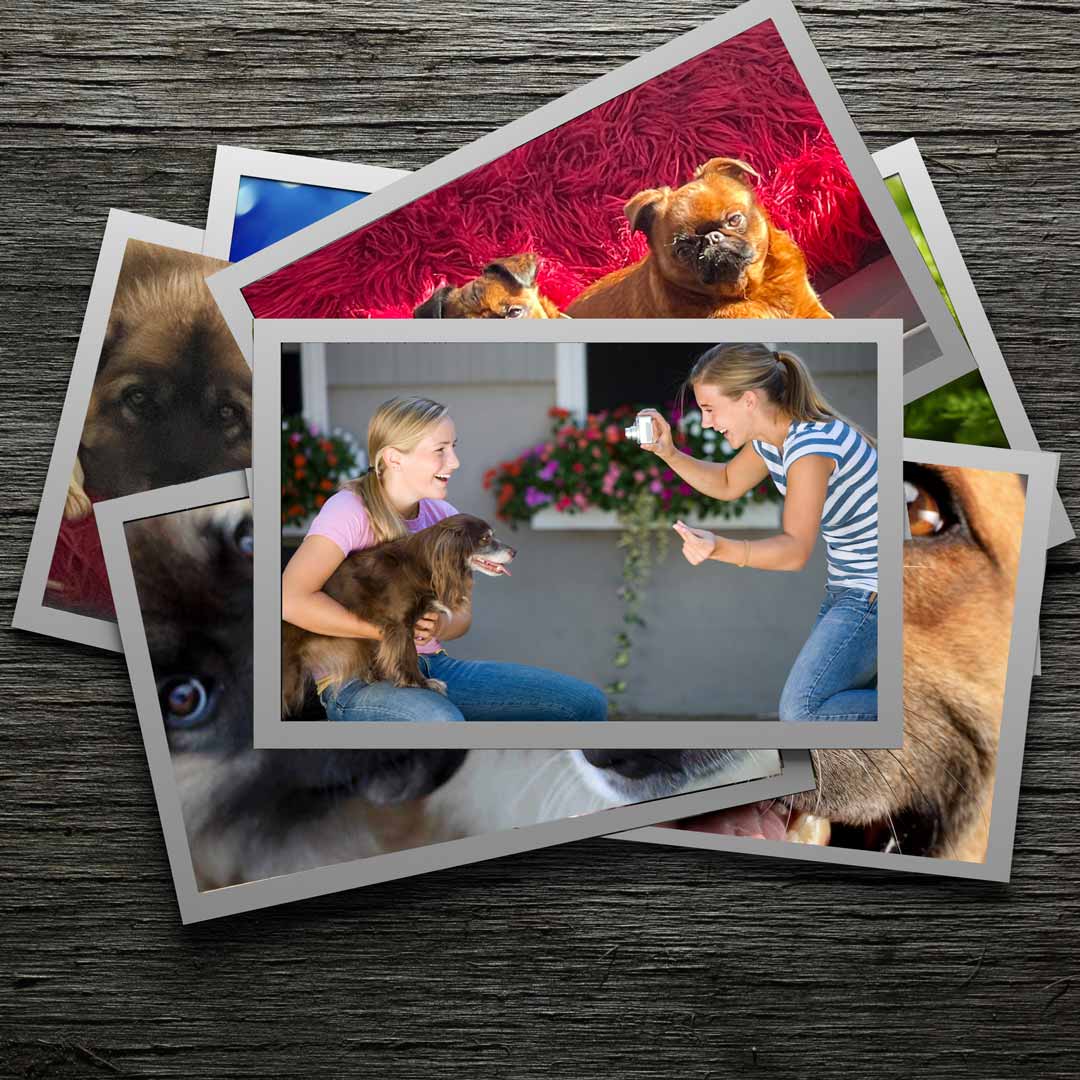
Take Dynamic Dog Pictures
Using the Darkroom In Your Phone
Over the years our phone cameras have developed from little better than those disposable cameras from back in the day to professional cameras with a plethora of settings.
One thing Apple, Android and the others (are there others?) have done very well is keep phone cameras easy to use for those who just want to point and shoot.
For those who want to dive deeper, the more advanced setting are there and easily accessible.
The ones we use on our iPhones are covered in the next column of info.
Our goal is to share tips on getting great shots of your dogs, not recreate an Apple iPhone or Android Droid camera course. Though we will pass on tidbits we think will help with dog photos.
With constant software updates and new phones to tempt us, we'll leave the more detailed specifics to the phone manufacturers.

Apple iPhone Settings
Ready, Set, Go To Settings
Tap on the Settings icon on your home screen. From there you can tweak settings like a pro.
Formats: Most Compatible keeps photos as jpeg files. HEIC takes up less room, but can be awkward to edit
Apple ProRawis useful if you like to edit your photos
Record Video: 1080 at 30fps is a good middle of the road setting
Grid:Turn the Grid that divides the screen into thirds (9 squares) on or off
Scan QR Codes:QR Codes are shortcut URLs, while gaining in popularity, only turn on when needed.
Lens Correction: Corrects any lens distortion (anything that does stuff so I don't have to is a yes for me)
Smart HDR: HDR takes many photos at different exposures and combines them into one (love this)

Top Two Most Brilliant Bliss Tips
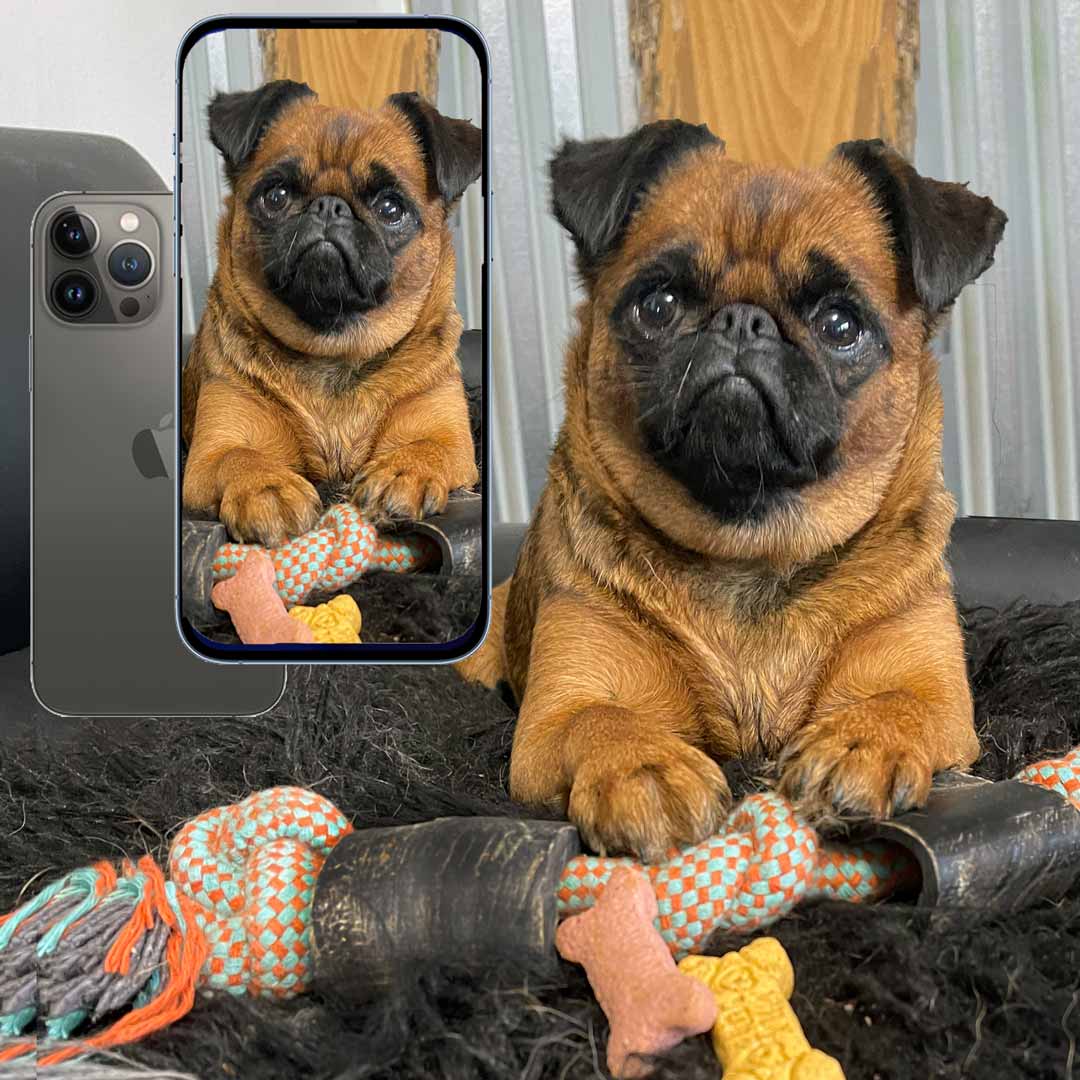
First - Use the Auto Focus feature!
As you are focusing your photo, tap on the most important part, probably your dog’s face.
Your iPhone automatically sets that spot as the focus. A yellow square with a starburst will appear. You may have to tap more than once to keep the focus if your active isn't cooperating.
But wait there’s MORE. You can also lighten or darken your photo (aka set the exposure) by sliding your finger up, to lighten, or down to darken as you focus.
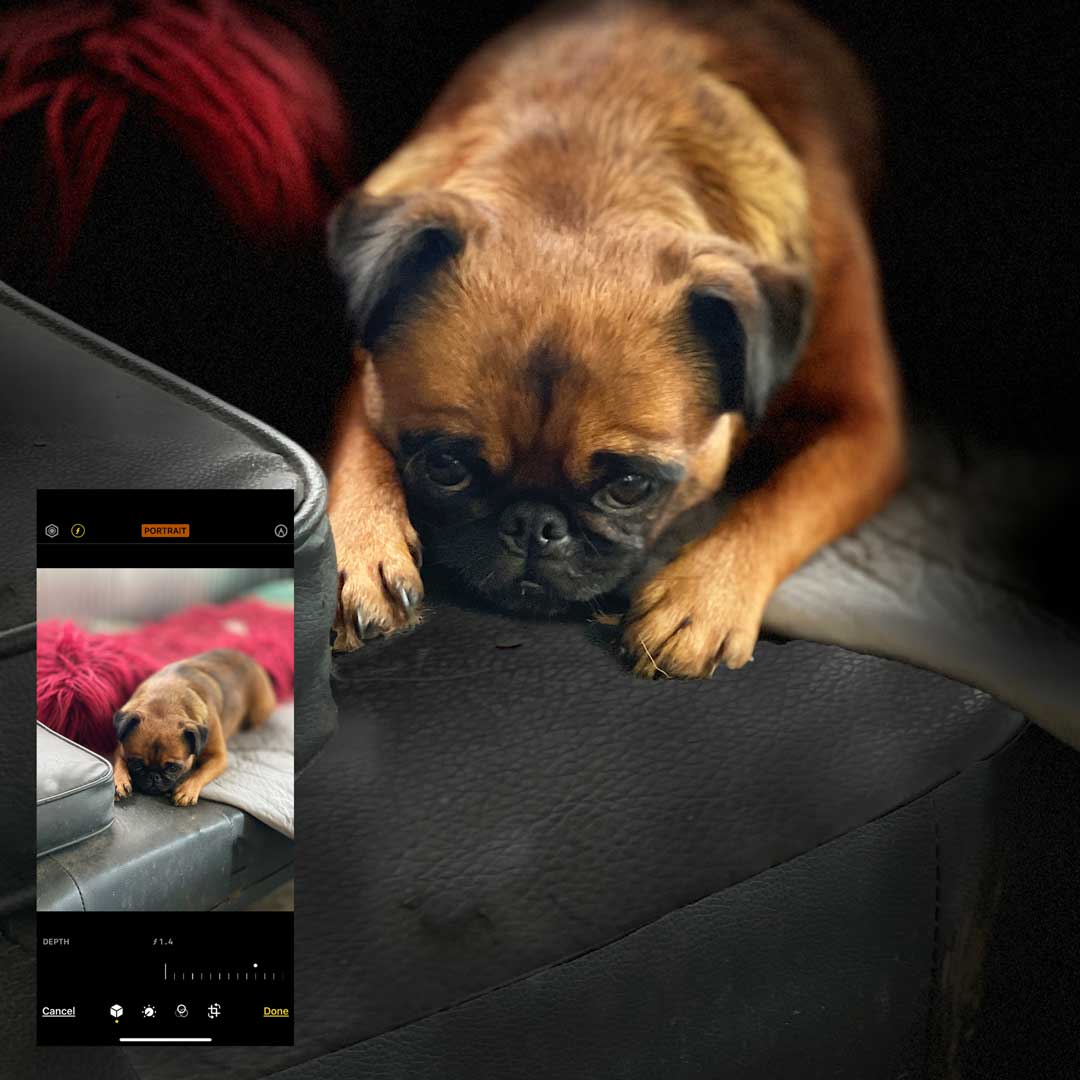
Next & My FAVE - Get To Know Portrait Mode
Oh yeah, this is how you get the way cool blurred effect you see in high-end pro photos. Now you can do it, too.
Bliss Bit! I took the picture above using Portrait Mode and in Edit I played with the settings (darkened it, added Studio light) until I got this effect. This quick step took a throw-away image into one I am going to have printed! -Kathy

Taking Your Dog's Best Photo - Our Gift To You
Even though most of us have a professional quality camera aka smart phone with us all the time, it can still be daunting to capture your dog's essnce in a photo.
Here are a few more pages of tips, hints and bits of bliss to help getting the perfect shot. Now that is bliss!
More Articles on Blissful Dog Photography
Finding Your Dog Photographer Persona